(21-May-2013)
My first attempt at baking bread was a failure– the baguette looked decent enough, but was completely inedible.
That first experience left me underwhelmed with that sort of bread-making though– buy some yeast from the store, and it will magically turn your inert dough into a light, crusty loaf.
I’m a little old-school, and so I like to experiment with recipes, tools, and techniques that could have been used many many generations ago, before the advent of modern conveniences such as industrially-made yeast and electric mixers.
This got me to thinking about wild yeast sourdough bread. Now this is something I could get into: put me in a place with just wheat, water, and salt, and I can make a delicious daily bread. And it is a bread that could possibly have been made even as far back as the Old Testament times.
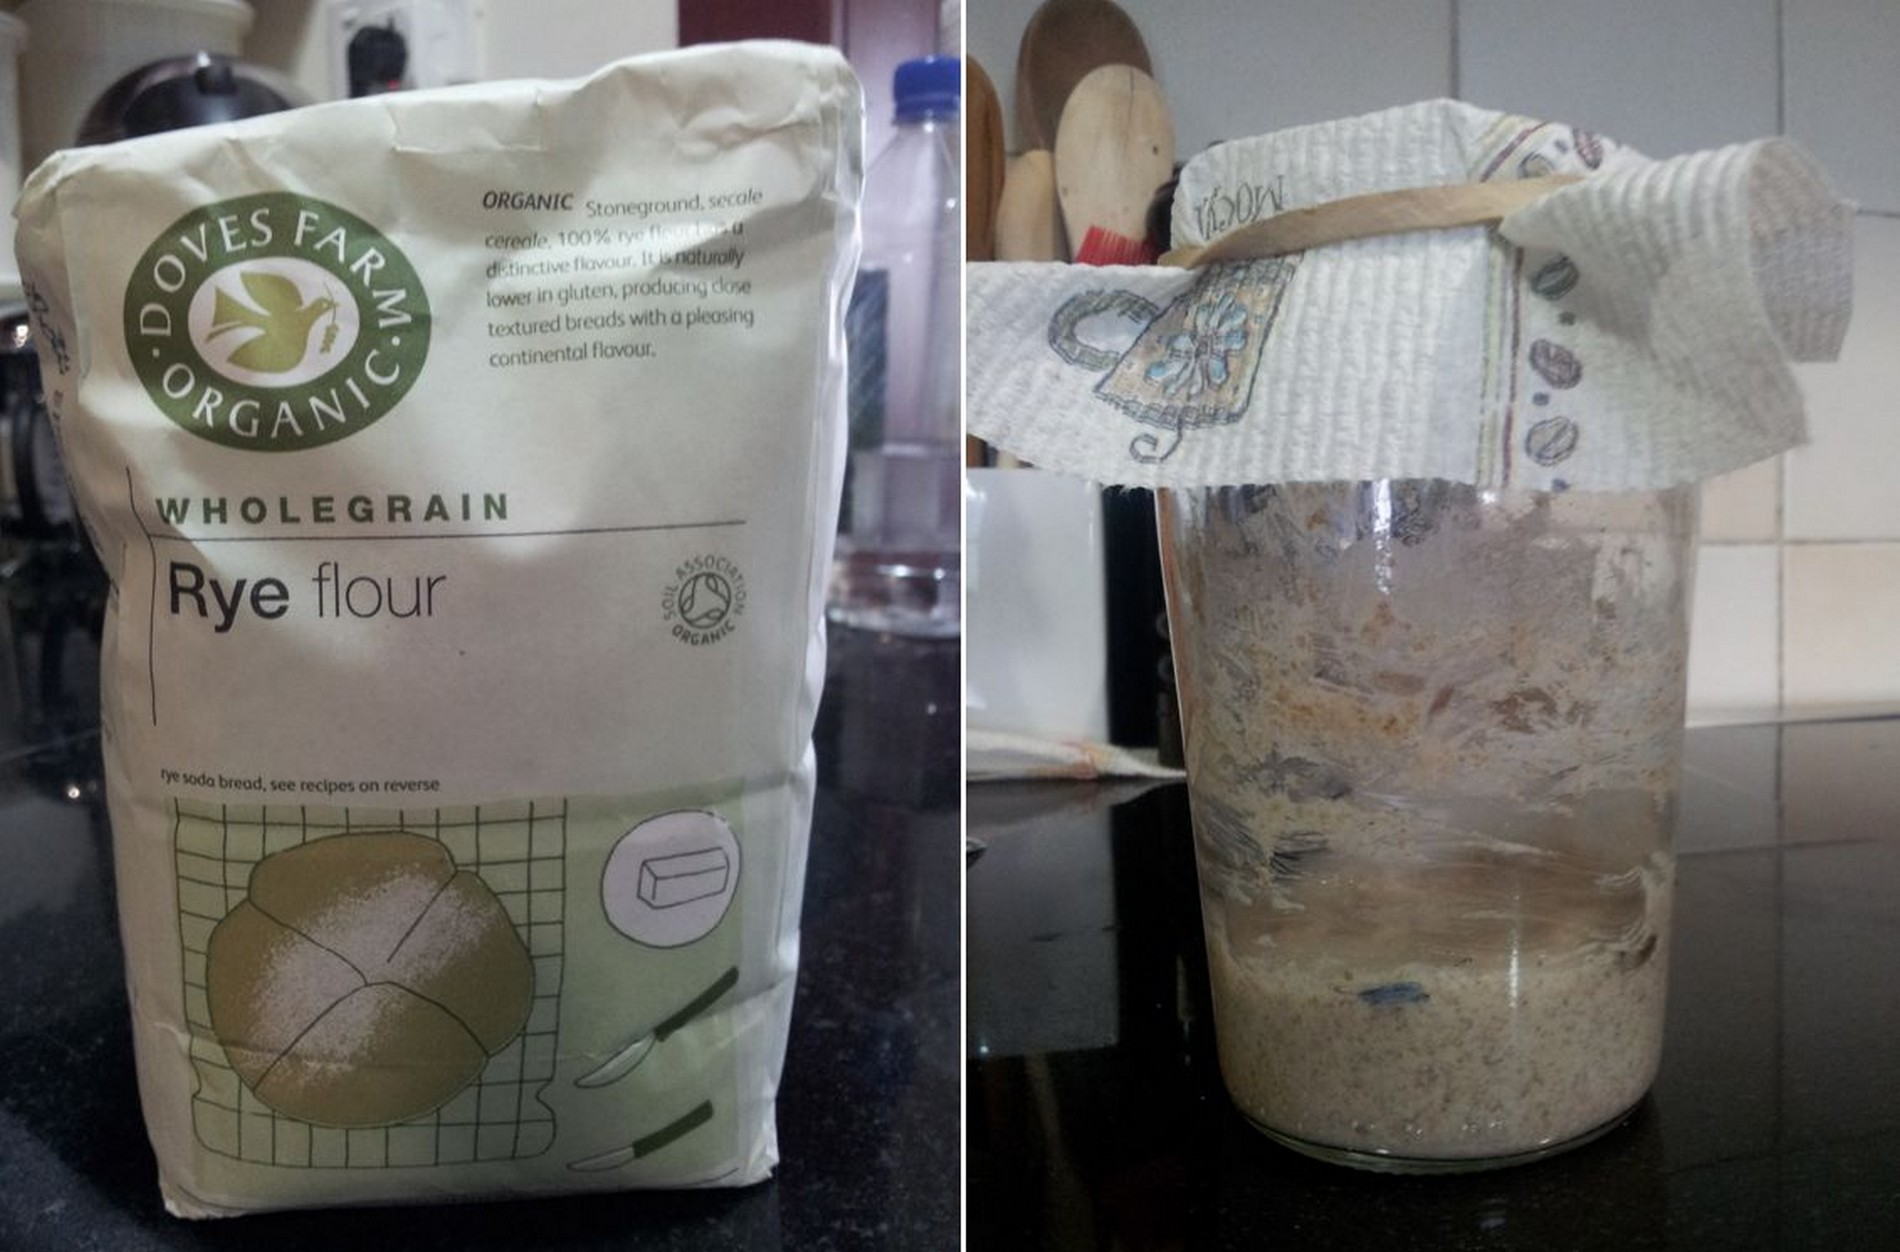
So after much research on the internet, I came across the WeekendBakery.com’s guide to making a 100% rye wild yeast starter. Perfect!
It took a full seven days before the starter was ripe enough to bake bread with, and below is the day-by-day breakdown of how it went.
New Equipment update
Based on the advice of pretty much every baking site and blog I found, I purchased a digital scale at Lakeland in the Mall of Emirates. I settled on a very expensive brand, Terraillon, mainly because of its super slim profile and good looks. It has the tare feature, plus you can switch the view between grams, ounces, fluid ounces, and milliliters.
Day 1: (Tuesday)
Easy enough. Mixed equal parts rye flour and water in a clean pickle jar, stir for 60 seconds, and leave on the counter lightly covered for 24 hours.
Day 2: (Wednesday)
Nice! There is already some activity, as seen by the bubbles in the mixture. There was a slightly unpleasant smelll, but nothing overpowering. Discarded half of the mixture, and topped up with freah rye flour & water, mixed for 60 seconds, and left back on the counter to rest for another 24 hours.
Day 3: (Thursday)
Hmm not so nice. No activity, and now the stuff is starting to smell pretty funky, like spoiled food left out too long. This was to be expected, so discarded 3/4 of the mixture, refreshed with flour & water, and left on the counter for 12 hours.
Day 4: (Friday)
Nothin. No activity. Don’t get discouraged. Discarded 3/4 of the mixture, refreshed with flour & water, and left on the couonter for 12 hours.
Day 5: (Saturday)
Still nothing. At least the bad smell is gone, but after 5 days I’m staarting to worry if I need to start over. Well, let’s leave it for one more day, can’t hurt. Refreshed with flour & water, discarded 3/4 of the mixture, and left on the counter for 12 hours.
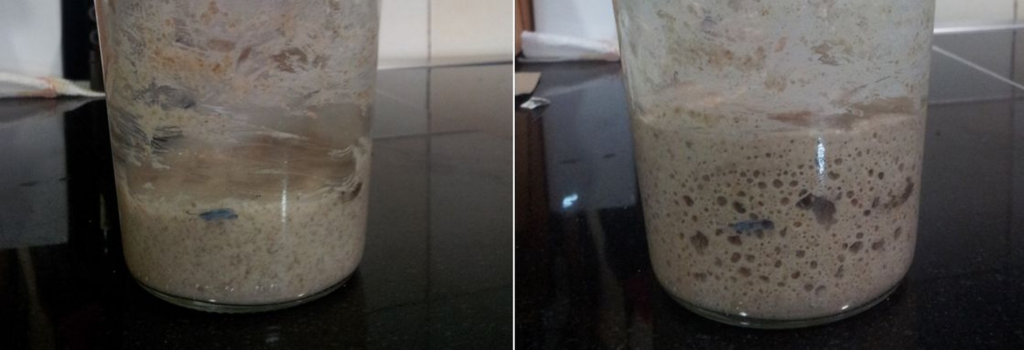
Day 6: (Sunday)
Slight activity.A few bubbles, but still thinking I need to trash it and start over. Now it is the weekend, so I can try for more frequent feedings, like once every 6 hours. Each time refreshed, not much activity, only a few bubbles. Now I’m convinced it’s a lost cause, I’ll have too start all over again. So I do one last refresh beecause, why not?
Day 7: (Monday)
Finally! When I wake up, I see that the starter has more than doubled in size! It took a long time, but the starter was finally active, and could be used to bake bread in a few more days!
So I followed up with regular refreshes every 8 hours or so, and by the end of the second week I was ready to use the starter to bake my first sourdough loaf.
Lessons learned
I would not chaange anything if I were to do the process all over again.
For those wanting to go a little faster, there is a way to avoid the initial 2-3 day period where the bad bacteria are outnumbering the desired bacteria: starting off with pineapple juice instead of water. The bad bacteria cannot survive in the pineapple juice, and the sugar is a booster too attract the bacteria we want.
But I enjoy the fact that my starter was nothing but flour and water to start, so that’s how I’ll continue to do it if I ever lose my starter.
Next step: get to the bread baking!
:: Equipment on hand:
:: – Scaling: Terraillon Carre Inox (new purchase!)
:: – Levain container: Maille pickle jar (large)
:: – Mixing: by hand
:: – Bulk Fermentation container: kitchen bowl
:: – Dough Scraper/Cutter: none
:: – Proofing: kitchen bowl
:: – Baking: Inverted cookie sheet